-
Empty cart
No products in the cart.
Return to Shop

This design was part of our 2024 OCT releases and has been archived to the Serev3D Vault.You can still get the files:
– by purchasing it in our Serev3d web shop, or
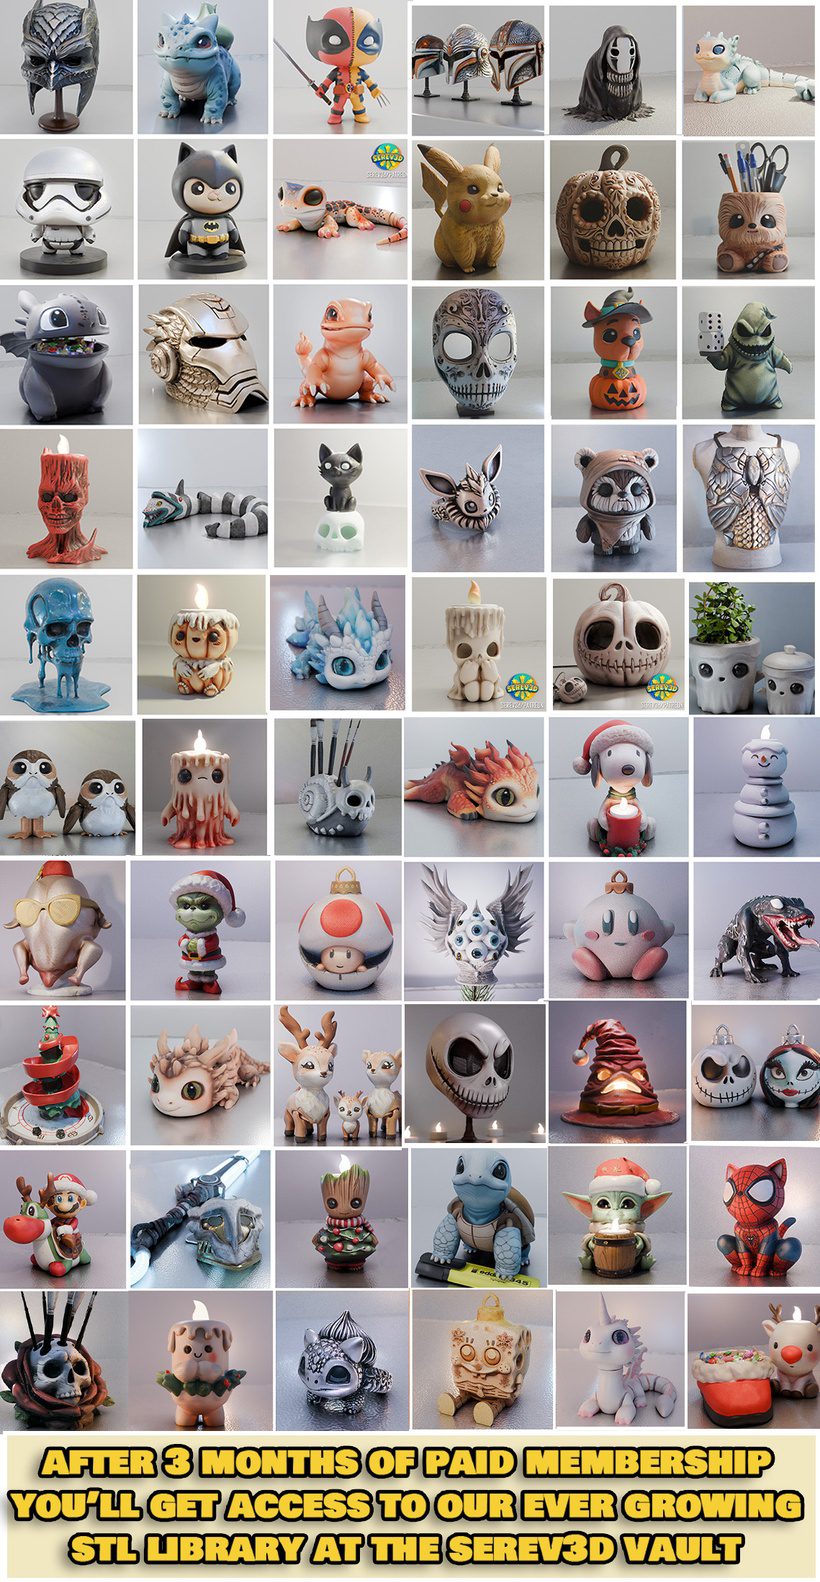
-by keeping an active paid Patreon membership with us for 3 consecutive months: on the 3rd month we unlock The Vault for you with the access to our entire Serev3d library!

————————–
If you already have the file, here is all the INFO:
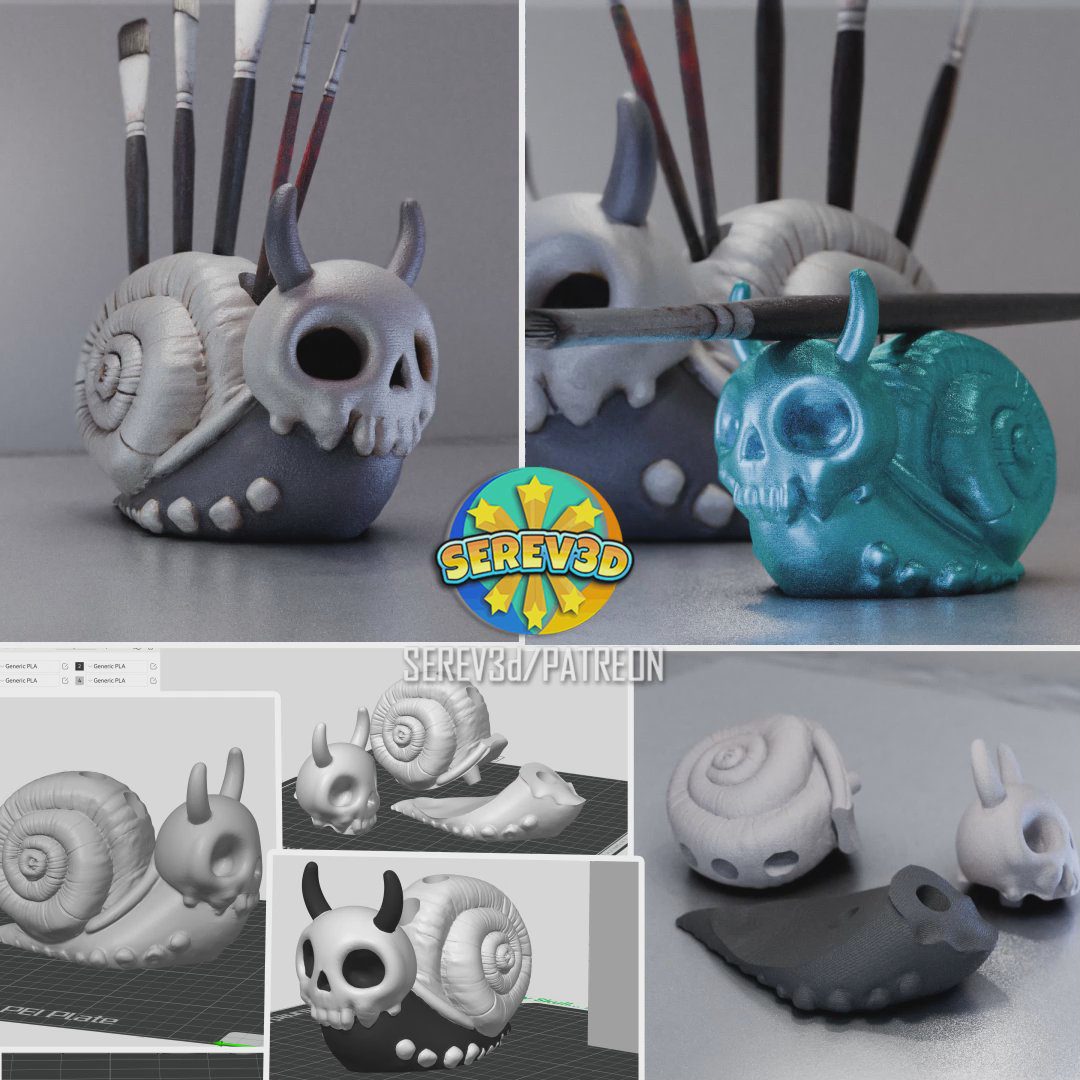
In the downloaded folder you can find a paintbrush/pen holder version, a mini solid version, multicolor 3mf and also a cut multiple part version too!
Recommended filaments:
Or, you can use Dual Silk & gradient filaments:
►ERYONE Silk Dual Color PLA Filament
Print difficulty level: Beginner
Print settings:
(If you use Bambu or Orca slicer, all the print settings are automatically loaded in the 3mf file)
-Layer height: 0.16-0.2mm (within this range it works well, the lower the layer height, the less you can see the layer lines)
-Wall loops: 2
-Infill: 10%, Gyroid
-Support: No supports needed, except for the version in 3 pieces, there you should keep the orientation as it’s imported, and add Auto Tree supports, with a TopZ distance of 0.27, and BottomZ distance 0.2
Estimated print time for single color version: 3.5h
Estimated print time for Multi Color version: 19h
———————————–
Painting and post-processing instructions (optional, you can always use pretty gradient, silk or dual silk filaments too, which gives pretty colors without the need of painting)
1. Prep: Use white filament and sand the model lightly to smooth any layer lines (recommended to use wood filler/or plastic putty, and primer spray with a little bit of sanding to minimize layer lines visibility)
2. Base Coat: Apply a light grey primer to the entire model. This will serve as a neutral base for the shading and highlights to be added later.
3. Shading the Snail’s Body: mix black and dark grey acrylic paints. Use an airbrush or a sponge brush to gradually shade the underbelly and the lower parts of the snail’s foot. This gives depth and a natural gradient. Or you can just apply black acrylic covering the whole body without gradients.
4. The Shell: Apply a base coat of beige or off-white acrylic paint to the shell. This will give it a natural, slightly aged look.
To bring out the ridges in the shell, use a light brown wash and apply it into the crevices. Use a dry-brushing technique with a lighter tone (like ivory or white) to highlight the raised areas, making the shell look more weathered and organic.
Metallic Touch (optional): For a more unique look, you can add a hint of metallic sheen (light silver or pewter) to certain parts of the shell using dry brushing to give it a slight shimmer.
5. Skull Details: Aged Skull Effect: For the skull, start by applying a light beige or bone color as the base coat. To create an aged look, use a darker brown wash r black for the eye sockets and other crevices in the skull. Gently dry-brush with white or ivory on the raised areas to give it a weathered, bone-like appearance.
Weathering: You can use a small sponge or dry brush to add light streaks of brown or grey on the skull for a dirtier, worn look.
6. Sealant: After the paint is fully dry, apply a matte clear coat (or shiny, depending on the end look you want to achieve) to protect the paintwork.
Resources for painting and post processing:
Filament: Polymaker PLA Matte White
Filler Primer: Rust-Oleum Filler and Sandable Primer Spray
Sandpaper: 3m Pro Grade Grit: 120, 3m Pro Grade Grit:220, 3M Wet or dry Sandpaper Grit: 600
and/or Bates- Sandpaper, 18 Pack, 12 Grits, 120 to 3000
Primer: Rust-Oleum Painter’s Touch Spray Paint White
Paint: Fantastory Craft Acrylic Paint Set
Clear coat finish: Rust-Oleum Matte Clear Coat or if you want glossy look Rust-Oleum Clear Gloss
►Click here to grab all our latest designs from the SEREV3d Current download links board (Accessible for paid members)
—————————————————
Have fun, we are looking forward to see your 3d prints!
Don’t forget to show off your awesome creations, or make requests for future designs on:
►Our Patreon chats: https://www.patreon.com/serev3d/chats
►Or in our SEREV3d facebook group: https://www.facebook.com/groups/1569100737016945
Other popular 3d print groups to show off your makes:
–3d Printing for Beginners and Pros
–F**k that, I’ll just 3D print it!
–3D Printing ⚙️

