-
Empty cart
No products in the cart.
Return to Shop
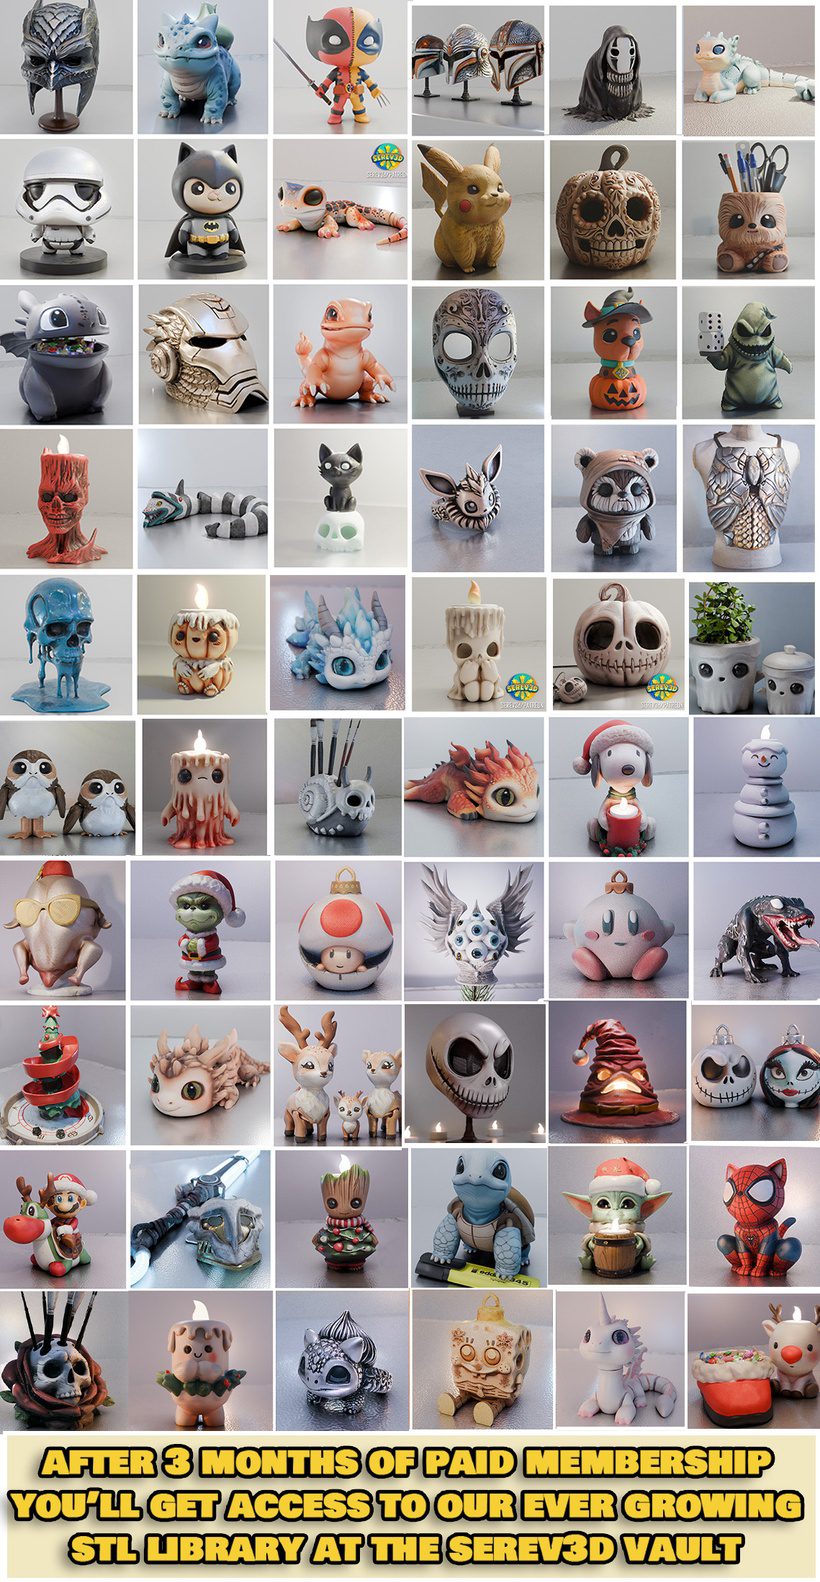
This design was part of our 2024 OCT releases and has been archived to the Serev3D Vault. You can still get the files:
– by purchasing it in our Serev3d web shop, or
– signing up for an Annual Membership on our patreon (with a 15% discount, you get access to all our files at the Serev3D Vault), or
-by keeping an active paid Patreon membership with us for 3 consecutive months: on the 3rd month we unlock The Vault for you with the access to our entire Serev3D library!
————————–
If you already have the file, here is all the INFO:
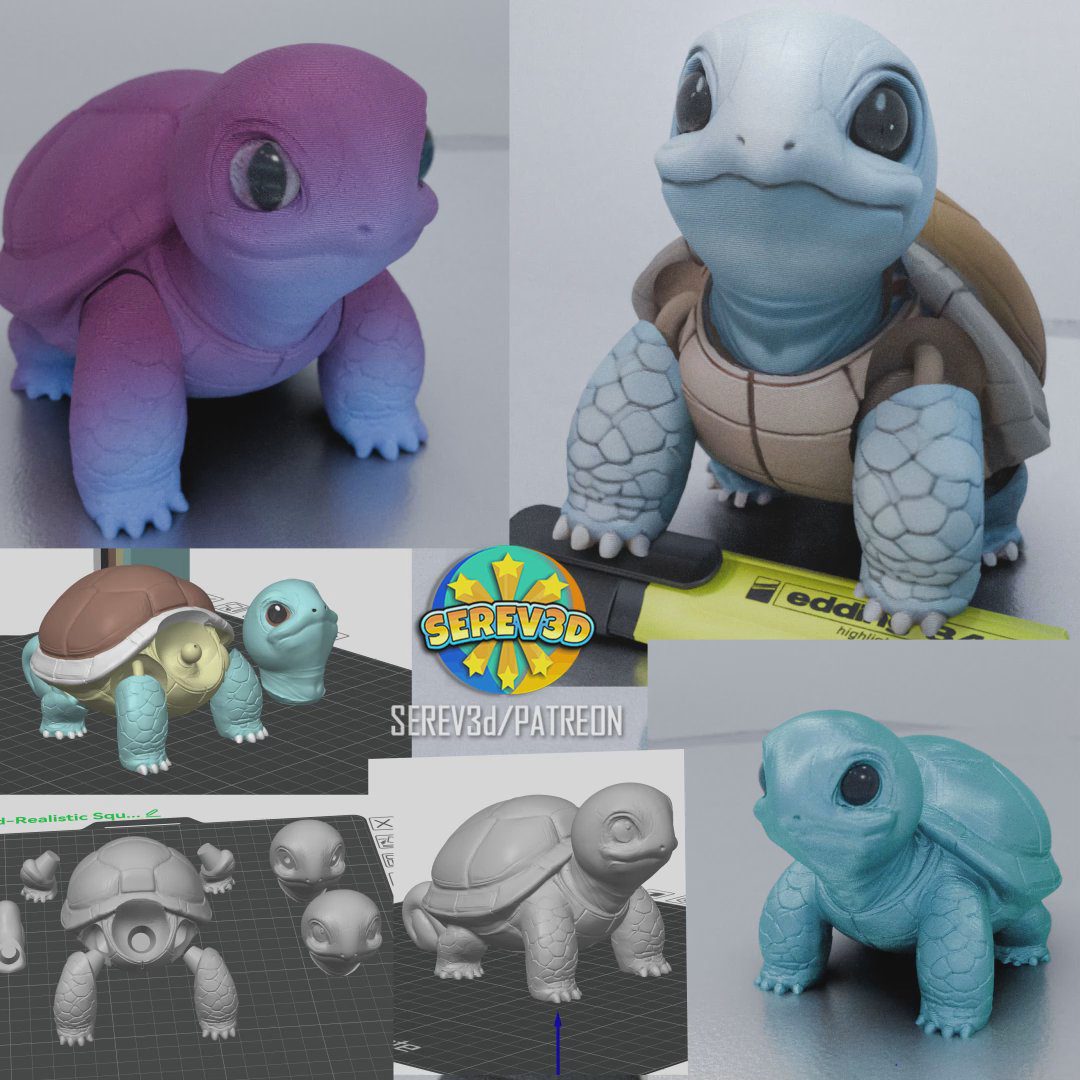
Here we go, another cute realistic Pokemon, this time it’s the Realistic Squirtle!
INFO:
We provided 3 different versions: in one full piece, in multiple parts, and articulated version, also Multicolor 3mf versions.
Print difficulty level: Beginner to Intermediate
“STEAL THEIR LOOK” instructions:
Version1: Painted, craft eye, articulated version
Filament: Polymaker PLA Matte White
Craft eye: UPINS 10mm safety eyes
Primer: Rust-Oleum Painter’s Touch Spray Paint White
Paint: Fantastory Craft Acrylic Paint Set (Use Celulean blue, Phthalo Blue, White, Raw Umber & Raw Cienna
Clear coat finish: Rust-Oleum Matte Clear Coat or if you want glossy look Rust-Oleum Clear Gloss
Steps:
-
Preparation: Sand any rough areas on the model. Wipe it down with a cloth to remove dust.
-
Primer: Spray a thin coat of Rust-Oleum Painter’s Touch White Primer. Let it dry, then add a second coat if needed.
-
Base Color: Use Cerulean Blue for Squirtle’s skin. Mix with Phthalo Blue to deepen areas like creases. Add White to Cerulean for highlights.
-
Shell Details: Mix Raw Umber and Raw Sienna for the shell, using more Raw Umber in shadows and Raw Sienna for highlights.
-
Eyes: Insert UPINS 10mm safety eyes. (it should fit in the hole with a tiny force, if not, try to gently sand down either the pin of the craft eye, or the middle hole of the eye socket)
-
Finish: Seal with Rust-Oleum Matte Clear Coat for a subtle finish or Clear Gloss for a shiny effect.
(Allow each layer to dry fully before moving to the next for the best results.)
———————–
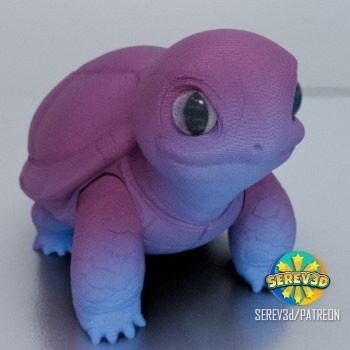
Version2: Gradient filament, craft eye, multiple parts version
Filament: COOKIECAD Unicorn, Rainbow PLA
Craft eye: GraceAngie Mixed Style Dragon Eyes 10mm
Glue: Gorilla Super Glue Liquid
Steps:
-
Print Parts: Use COOKIECAD Unicorn Rainbow PLA for each part (legs, shell, tail, and head). You can keep the orientation as it is, or orient parts in your slicer to achieve different gradient effect across the model. (if you print even more squirtle all at once, the gradient shift is more dominant, if you print less, the gradient shift is bigger more subtle.)
-
Attach Eyes: Place the GraceAngie 10mm dragon eye in each eye socket, securing with Gorilla Super Glue Liquid. Hold until set.
Assemble Parts: Use Gorilla Super Glue Liquid to join all printed parts. Apply carefully to avoid visible glue residue.
————————-
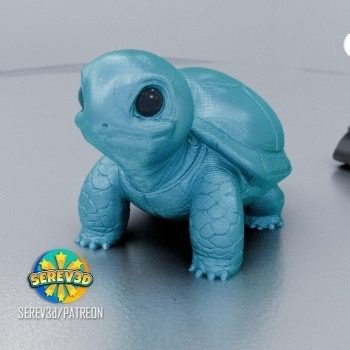
Version3: Dual silk filament, craft eye, Single part version
Filament: YOUSU Dual Color Silk PLA blue-green
Craft eye: UPINS 10mm safety eyes (if you want to scale down Squirtle to a smaller size, you can use the 8mm version too)
Steps:
-
Print: This version is in one piece, very simple to print, you can apply Auto Tree supports and it will automatically support the belly, (more printing instructions on the bottom of the post)
-
Attach Eyes: Insert UPINS 10mm safety eyes. (it should fit in the hole with a tiny force, if not, try to gently sand down either the pin of the craft eye, or the middle hole of the eye socket)
—————-
Recommended print settings: (If you use Bambu or Orca slicer, all the print settings are automatically loaded in each version’s 3mf files)
-Layer height: 0.2mm , if you want finer details you can set it to 0.16 (Also you can turn on Adaptive Layer Height and Ironing Top Surfaces, if you want less visible layer lines on the top surfaces of your print
-Wall loops: 3
-Infill: 10%, Gyroid
-Supports: On some of the versions of Squirtle in the 3mf file we added manual supports so if you load that in Bambu Studio (or Orca you are good to go,
If you use another slicer:
For the one piece and multiple pieces version you can activate Auto Tree supports with a 30 degree threshold angle, TopZ distance 0.28, BottomZ distance 0.2
For the articulated version: activate MANUAL Tree supports with a 30 degree threshold angle, TopZ distance 0.28, BottomZ distance 0.2, and paint the support manually (with the paint bucket or the brush) under Squirtle’s belly. The reason to only do manual supports with it, is to not let the slicer to automatically adding supports to the head attachment, because it would be extremely difficult to remove them from inside the head, and then the moving head part would not fit on the body
Estimated print time: 4-6h
►Click here to grab all our latest designs from the SEREV3d Current download links board (Accessible for paid members)
—————————————————
Have fun, we are looking forward to see your 3d prints!
Don’t forget to show off your awesome creations, or make requests for future designs on:
►Our Patreon chats: https://www.patreon.com/serev3d/chats
►Or in our SEREV3d facebook group: https://www.facebook.com/groups/1569100737016945
Other popular 3d print groups to show off your makes:
–3d Printing for Beginners and Pros
–F**k that, I’ll just 3D print it!
–3D Printing ⚙️
