-
Empty cart
No products in the cart.
Return to Shop

►Click here to grab Toad and all our latest designs from the SEREV3d Current download links board (Accessible for paid members)
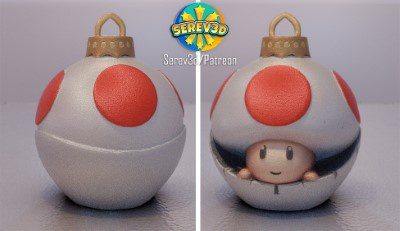
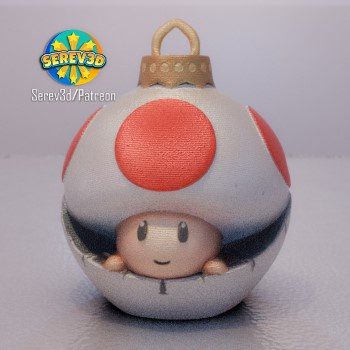
It’s a pretty fun print, because from a certain angle it looks like an ordinary Christmas ornament, but when you turn it around….it’s Toad!:)

We included an stl and a colored 3mf version too in the download.
—————————-
Print difficulty level: Beginner
Print settings:
(If you use Bambu or Orca slicer, all the print settings are automatically loaded in the 3mf file)
-Layer height: 0.16-0.18mm (within this range it works well, the lower the layer height, the less you can see the layer lines)
-Wall loops: 2 (if you want slightly stronger walls, you can also put it to 3)
-Infill: 8%, Gyroid
-Support: no supports needed!
—————————
“STEAL THEIR LOOK!” instructions:

Version1: Matte White PLA + Handpainted details
Filament: Polymaker PLA Matte White
Filler Primer: Rust-Oleum Filler and Sandable Primer Spray
Sandpaper: 3m Pro Grade Grit: 120, 3m Pro Grade Grit:220, 3M Wet or dry Sandpaper Grit: 600
and/or Bates- Sandpaper, 18 Pack, 12 Grits, 120 to 3000
Primer: Rust-Oleum Painter’s Touch Spray Paint White
Paint: Fantastory Craft Acrylic Paint Set (Use white, grey, black, orange, and you can add a little bit of blue too)
Clear coat finish: Rust-Oleum Matte Clear Coat or if you want glossy look Rust-Oleum Clear Gloss
-
Post-processing steps (if you don’t mind the layer lines being too dominant, you can skip the sanding part, and jump right to the primer coat and painting)
-
Sanding: Start with coarse sandpaper (120 grit) to smooth layer lines, then use finer grits (220) and lastly (400-600) for a more polished surface.
-
Filler Primer: Apply a filler primer coat to cover imperfections. Let it dry completely.
-
Wet Sanding: Use 400-600 grit sandpaper for wet sanding the primer, repeating as needed for smoothness.
-
Final Primer Coat: Apply a thin layer of regular primer to create an even base for painting.
-
Painting: Paint with your chosen color from the acrylic paint set (red, white, beige, black-grey etc.)
-
Finish: Seal with Rust-Oleum Matte Clear Coat for a subtle finish or Clear Gloss for a shiny effect.
-
(Allow each layer to dry fully before moving to the next for the best results.)
————————-

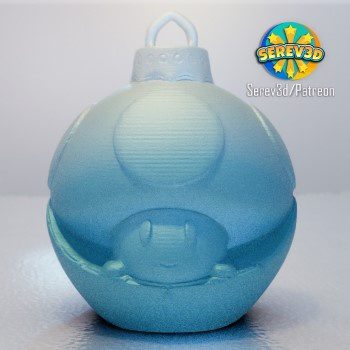
Version2: Translucient Gradient PLA
Filament: ZIRO Translucent PLA Filament
-
you can try different gradient shift techniques, if you print even more snowmen all at once, the gradient shift is more dominant, if you print less, the gradient shift is bigger & more subtle.
———————–
►Click here to grab Toad and all our latest designs from the SEREV3d Current download links board (Accessible for paid members)
———————
Have fun, we are looking forward to see your 3d prints!
Do you want to be a Serev3D Maker of the Month?
Participate by tagging us @serev3d and use #serev3d in your social media posts, so we can find & repost your awesome makes and give you shoutouts!
Every month we will prepare a little something (bambu store gift cards, or a fully exclusive design etc.) for the person who’s the busiest in the month, printing and posting about their awesome makes of our Serev3d designs!
You can also ask questions, make fun requests for future designs and show off your makes on:
►Our Patreon chats: https://www.patreon.com/serev3d/chats
►Or in our SEREV3d facebook group: https://www.facebook.com/groups/1569100737016945
Other popular 3d print groups to show off your makes:
–3d Printing for Beginners and Pros
–F**k that, I’ll just 3D print it!
–3D Printing ⚙️
