-
Empty cart
No products in the cart.
Return to Shop
►DOWNLOAD it from the SEREV3d Current download links board (Accessible for active paid members)
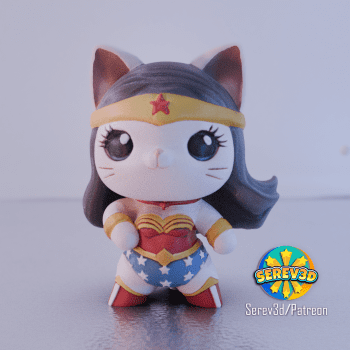
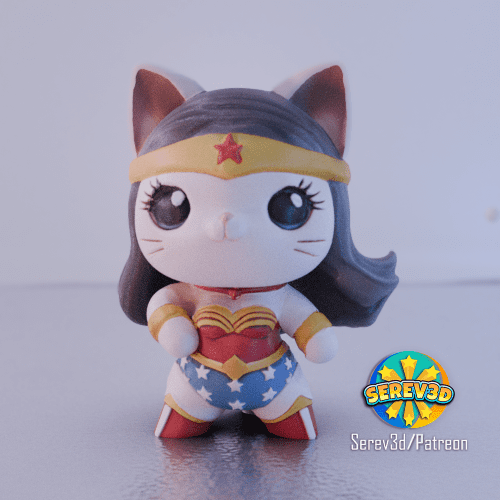
A new Cosplay Cat has joined the league!
** * All our cosplay cats will return very soon, and they will get a little remake: they will all come with a movable head and craft eye versions!
🦸♀️ Wonder Cat came with a bunch of different versions;
💫Removable head; Two versions (with eyes or craft eyes)
💫Multi Part versions; You can use any combinations and colors of filaments without the need of multicolor printing
💫One full piece version and multicolor (optimized for AMS with 4 colors)
———————————–
Print difficulty level: Beginner to Intermediate
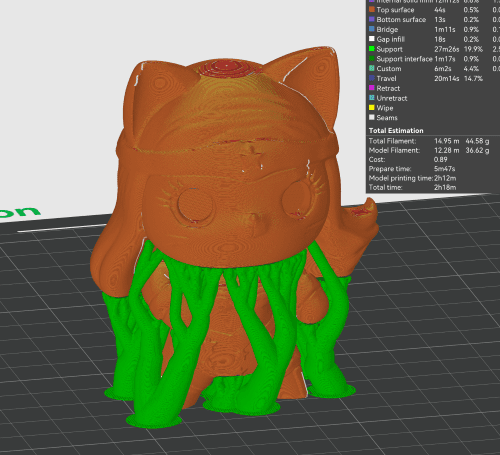
Recommended print settings: (If you use Bambu or Orca slicer, all the print settings are automatically loaded in each version’s 3mf files)
-Layer height: 0.16mm
-Wall loops: 3
-Infill: 8%, Gyroid
-Support: Auto Tree supports on build plate
A new Catsplay is coming in March!
—————————–
“STEAL THEIR LOOK!” instructions (resources, filaments and painting recommendations)
Version1 – Multi part version on separate plates
Print time around 4h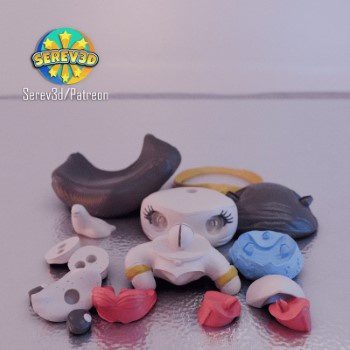
Printer: Bambu P1S
Filaments: Bambu PLA Matte filaments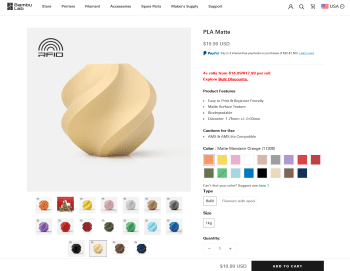
Instructions:
Step1: Print each part on the plates from the included 3mf file (multi part on separate plates), and choose which colors of filaments you want to print it with.
Step2: Assemble the parts, if you want, you can use a little drop of superglue to make them stay together well, and your Wonder Cat is ready to save the world!:)
Version2 : One piece version or two piece (head and body), hand painted
Print time 2h15min
Filaments: Bambu Matte White PLA
Printer: Bambu P1S
Primer: Rust-Oleum Painter’s Touch Spray Paint White
Paint: Fantastory Craft Acrylic Paint Set
OR if you have an airbush set: Airbrush Paint – 30 Colors
Clear coat finish seal: Rust-Oleum Matte Clear Coat or if you want glossy look Rust-Oleum Clear Gloss
Painting & Post-processing steps:
Step1: Rust-Oleum Painter’s Touch Spray Paint White as a base primer. Let it dry completely.
Step2: Painting: Paint with your chosen color from the acrylic paint set or if you have airbrush set, you can paint with that too, definitely much faster and you can paint some nice gradients with it
Step3: Seal with Rust-Oleum Matte Clear Coat for a subtle finish or Clear Gloss for a shiny effect.
———————————-
►CLICK HERE for all the latest models from the SEREV3d Current download links board (Accessible for active paid members)
————————————
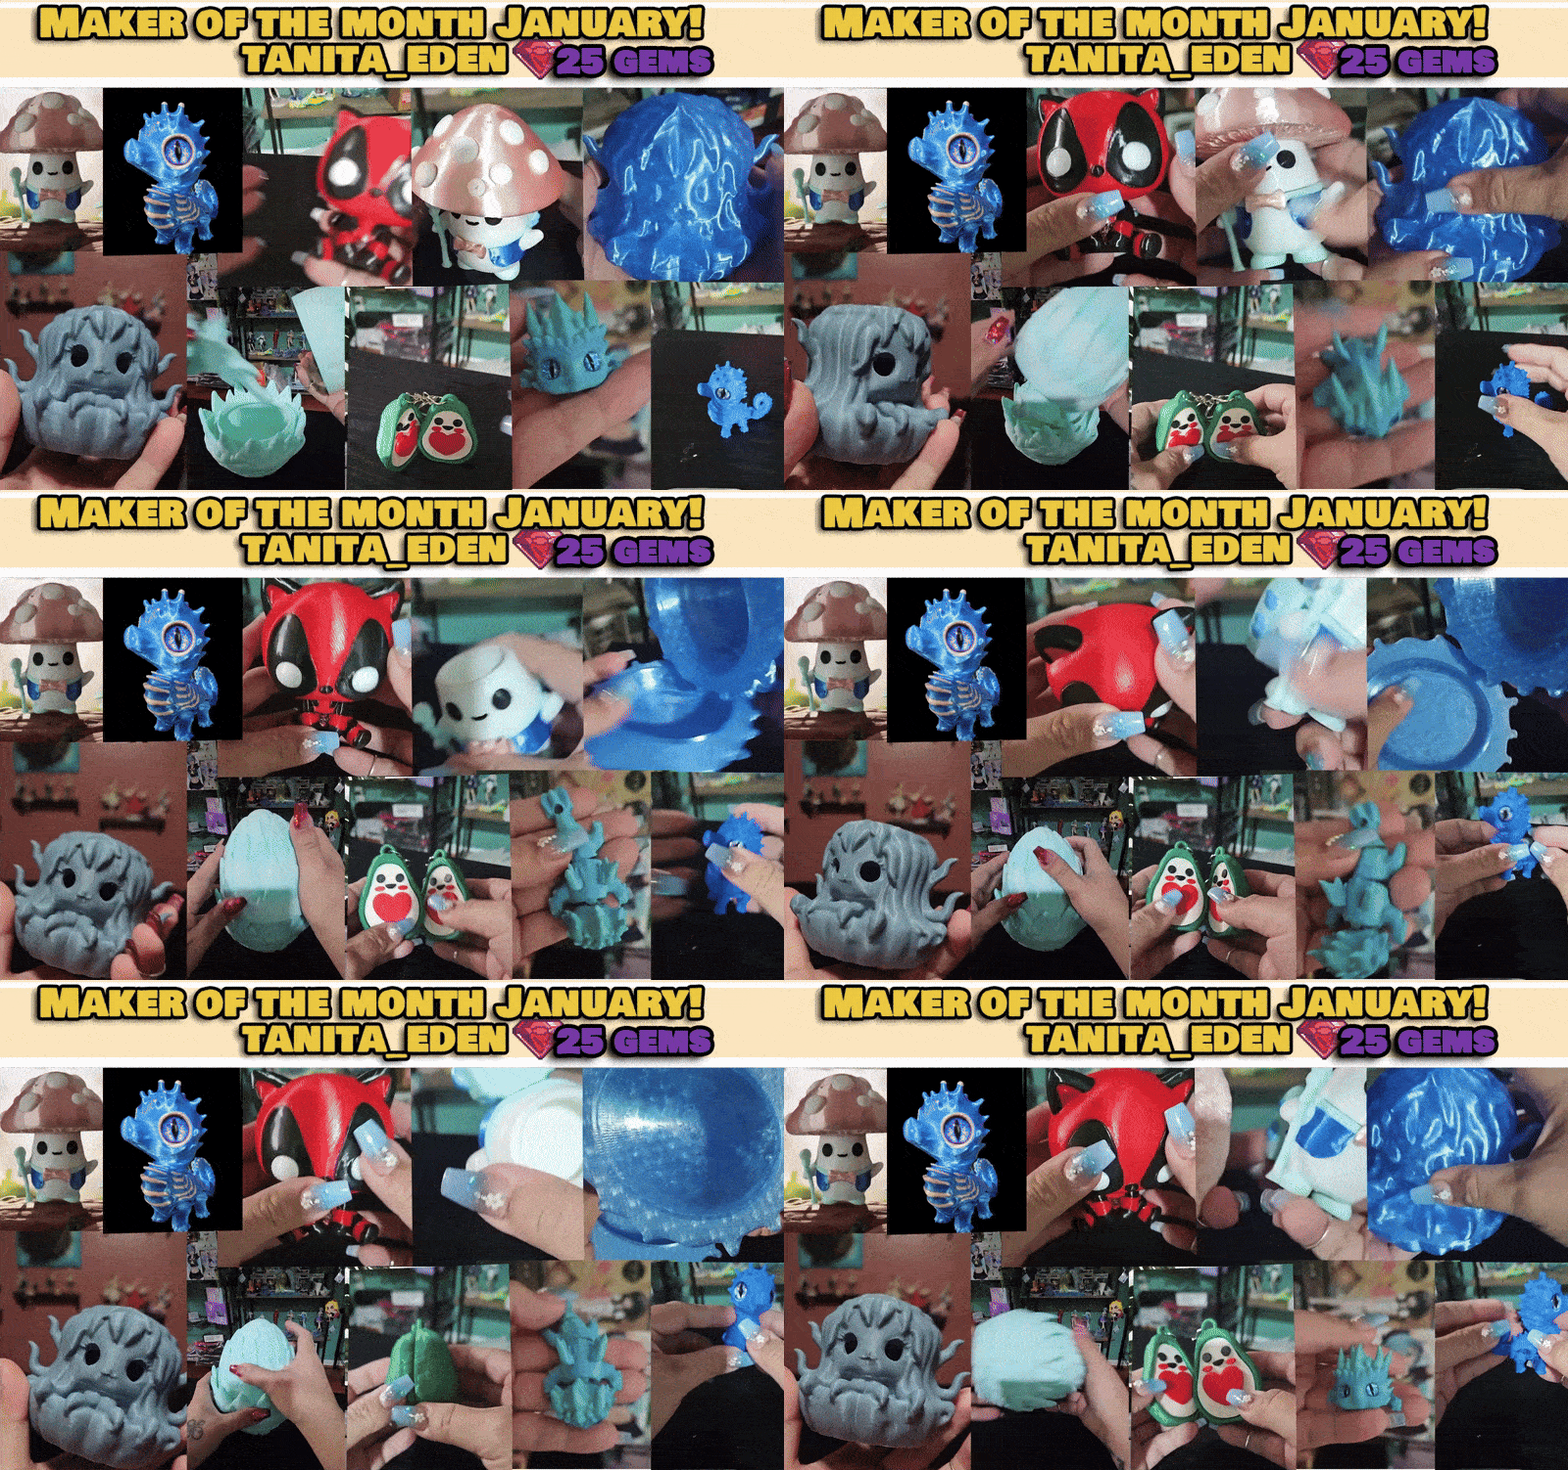
Do you want to be a “Serev3D Maker of the Month”?
👉JOIN US on Discord, and participate in the monthly Maker of the Month contest!
Participate by tagging us @serev3d and use #serev3d in your social media posts, so we can find & repost your awesome prints and give you shoutouts!
-
After every Serev3D print you do and make a post by tagging us, we’ll give you some Serev3D Maker Gems💎 for it, by the end of each month, we’ll take a look on the list of people who collected the most Maker Gems💎 and give the reward for the Maker of the Month:
1 Maker Gem💎: Posting your make in our Serev3D Patreon Printing Group or in our Patreon Chats.
2 Maker Gems💎: Posting your make on your own social media profile (instagram, fb, tiktok etc.) and tag @serev3d or use #serev3d on the post.
3 Maker Gems💎: Posting your make in –> any of these 3d printing Facebook groups and using the hashtag #serev3d in your description .
The Maker of the Month reward for February will be a $40 Bambu Store Gift card!
—–>Check out who got the award for last month here!<—–
Have fun, we are looking forward to see your 3d prints!
